There seems to be one injury that no skater can avoid. Ankle injuries. Like Jaws coming for you in the water, it’s the injury that seems to always be lying in wait each time you step on that board; having experienced a Grade 2 tear myself, I’d honestly rather be bitten by that damn shark.
Since starting this page and helping skaters on social media there isn’t a week that goes by that I get asked multiple questions on how to rehab or fix an ankle injury, so in this post we are going to really get in to common ankle injuries in skaters, how to fix them and, most importantly, how to best safeguard against them.
There are two major types of ankle injuries skaters tend to face:
Sprains.
Usually out of our control and can’t be helped and comes in the form of rolling the ankle past its intended range of motion. This is called an ankle sprain and it will usually occur in two ways:
1 – Inversion sprain: the most common of the two and most common for skaters, occurs with the outward rolling of the ankle. Think outside ankle bone moving towards the ground.
2 – Eversion sprain: not as common but sometimes the ankle will roll inwards causing an injury.
Both result in tearing and overstretching the ligaments of the ankle.
Ankle sprains are broken up in to 3 categories in order to grade severity of damage:
Grade 1: This is very mild and no disability occurs. It is a minor sprain of one or more ligaments with no tearing.
Grade 2: This is a moderate injury that will cause discomfort. It occurs when there is a partial tear of one or more of the ligaments. Walking and daily activities will be difficult and there will often be a substantial amount of swelling and bruising.
Grade 3: This is a severe injury that will cause a lot of discomfort and pain. It occurs when there is a complete tear of one or more of the ligaments. Walking will seem unbearable and a popping sound can often be heard at time of injury. Seek medical advice immediately.
Overuse Injuries.
The second type of ankle injury skaters tend to face is what we call overuse injuries. Skating is brutal on our ankles and, through simple things like pushing, popping and landing tricks, our ankles are often called upon to perform above and beyond their capabilities in awkward positions that breed disfunction.
What usually results are overuse injuries that build over time. The most common within the skate community is what’s known as anterior ankle impingement or “hot pockets”. This is where the skater experiences a pinching feeling at the front of their ankles often due to a lack of control/strength at the ankle joint or bad mechanics, causing a degenerative change in the bony structure of the ankle.
The second most common overuse injury is Achilles’ tendonitis, again due to an overuse of the tendons and ligaments beyond their capabilities.
The good news is that both overuse injuries and ankle sprains can be approached with similar rehab exercises to get the ankle out of pain and, most importantly, keep it that way.
Treating Ankle Injuries:
The concept around returning from all injuries stays the same:
Mobility, Stability, Strength.
This 3-stage approach is the basis for recovery of any injury. Miss one and the chances of recovery often sees the skater spinning their wheels in frustration, but combine all 3 in a harmonious environment to see a fast progression out of pain and increased resilience to future injury. Let’s explore each stage:
Mobility – Restoring range of motion to the muscle or joint of the affected area. In this case the ankle.
Stability – Teaching the body how to move effectively through the new range, with controlled movements.
Strength – Safeguarding against returning ankle injuries by building strength in supporting muscles and repairing torn and overused muscle tissue.
The only significant difference between recovering from an ankle sprain or an overuse injury is in the initial stage (triage) after the sprain, after that the same program can be done for both injuries. So, if you are just coming off a fresh sprain and still hurting then read on. If not, skip forward to Phase 2. Also important to note that if you are suffering from an overuse injury such as hot pockets it will require some time off the board in order to allow for the swelling to reduce as well as giving the program a chance to take its course.
What to do directly after your sprain:
Up until recently the RICE protocol (Rest, Ice, Compression, Elevation), created by Dr Gabe Mirkin in 1962, has been the industry standard for post roll treatment. In recent years however, an overwhelming amount of research has come out proving that applying ice immediately post-injury can actually delay healing by denying the body the ability to swell up; a natural phase of the repair process. In fact, in 2013 when the book “Iced! The illusionary Treatment Option” by Gary Reinis was releases Dr Mirkin supported this new research by taking back his stance on using ice for recovery publicly on his website as well as even writing the foreword for Gary’s second edition of his book.
“…subsequent research shows that rest and ice can actually delay recovery. Mild movement helps tissue to heal faster, and the application of cold suppresses the immune responses that start and hasten recovery. Icing does help suppress pain, but athletes are usually far more interested in returning as quickly as possible to the playing field. So, today, RICE is not the preferred treatment for an acute athletic injury (36).”
- Gabe Mirkin
It is important to note that a lot of physical therapists and sports doctors will still recommend ice for an injury but their use of it will come down to one of 2 things:
1 – How much swelling there is. If there is an extreme amount of swelling it will be used initially because this can cause high levels of discomfort.
2- How much pain there is. Similarly to the swelling, ice can be applied to offset extreme amounts of pain.
The second point of contention in the RICE protocol is Rest.
Rest is important and includes weight bearing, training and definitely no skating. However, we now know that movement as soon as possible is crucial in the recovery process but guidelines for this will be dictated by the key description of PAIN FREE movement. So, what does this look like?
In the initial stages post-ankle roll there will be a severe restriction of movement. Your job is to push the pain free boundaries of movement; flexing and extending at the ankle and achieving general movement through a range of different motions to a point where you can feel your limits but are not in pain. Your range, whilst limited at the start, will continue to come back the more you can test and push the pain free boundaries. Rather than think about dedicating a certain amount of time towards doing this work, aim to be testing this as you go about your day.
Great examples include whilst you sit on the lounge or whilst on breaks at work during the day constantly flexing and extending the foot as well as rolling it around within its range.
Ok, so now we have covered what to do immediately after a sprain, what next?
The key indicator in whether you are ready to move on to the next stage and begin your first phase is your ability to bear your own weight, i.e. can you stand on your own?
What I strongly recommend is getting some aid of support like some crutches, as this will allow you to begin to start adding some weight bearing without pushing yourself too hard.
What you don’t want to do is bear weight beyond your capability or force a limp which will alter your gate cycle or walking pattern. Giving yourself some support through crutches will allow you to introduce load to the ankle whilst not affecting your walking too much.
Once you can do this you enter the next stage. The next stage will be restoring mobility, training proprioception , stability and strength. This is where your first phase of the program kicks in.
Phase 1:
You will aim to perform this first program every day. Again, use your pain as a guide of how far to push into the movements rather than forcing the ankle beyond its capabilities. Once you can complete the exercises for the required reps, move on to the next stage in your recovery program.
It is important to note that for the ‘F’ exercise you choose only one version of the calf raise. When you are able to complete the reps and sets given you move on to the next. When you are able to complete the single leg calf raise you move on to the next phase.
| Order | Exercise | Sets | Reps | Rest |
| A | Foam Roller : Calves | 1 | 2-3 mins | – |
| B | Ankle Mob | 1 | 1 min hold | – |
| C | Calf Stretch | 1 | 1 min hold | – |
| D | Runners Pose: Hold | 3 | 20-40 secs | – |
| E | Alphabets | 3 | Work till fatigue sets in and swap | – |
| F | Choose one of these: Progress when readyTwo leg calf raise2 up 1 downSingle leg calf raise | 3 | Work up to 15 reps | – |
Phase 2:
This phase is the point where both sprains and overuse injuries can be treated similarly. This program is not only a great way to aid recovery and move away from ankle pain but also provides a scaffold to deal with the demands skating places on ankles going forward.
Again here with the ‘G’ and ‘H’ exercises you simply aim to choose 1 exercise that suits your level. When you can complete the hardest version of these exercises it is time to start testing your ankle on the board.
| Order | Exercise | Sets | Reps | Rest |
| A | Mobility Ball: Feet | 1 | 2-3 mins | – |
| B | Foam Roller: Calves | 1 | 2-3 mins | – |
| C | Ankle Mob | 1 | 2-3 mins | – |
| D | SB Toe Touches: Side On (Board stays flat) | 3 | 2 circles | – |
| E | SB Toe Touches: Front On (Board stays flat) | 3 | 2 circles | – |
| F | Tib Anterior Raise | 3 | 8-10 | – |
| G | Choose one of these: Progress when readyTwo leg calf raise2 up 1 downSingle leg calf raise | 3 | 8-10 | – |
| H | Choose 1 Based off Skill level: Progress when readyPogo JumpsLateral Hops | 3 rounds | 30 reps | – |
A final note:
A crucial note to remember when coming back from ankle injuries is to take it slow. Even after all the strength exercises in the world skateboarding is still going to place a huge demand on your calves and ankles, so make sure you ease back in to it. Take your first few sessions back to build tolerance and confidence in the ankle instead of immediately going hard.
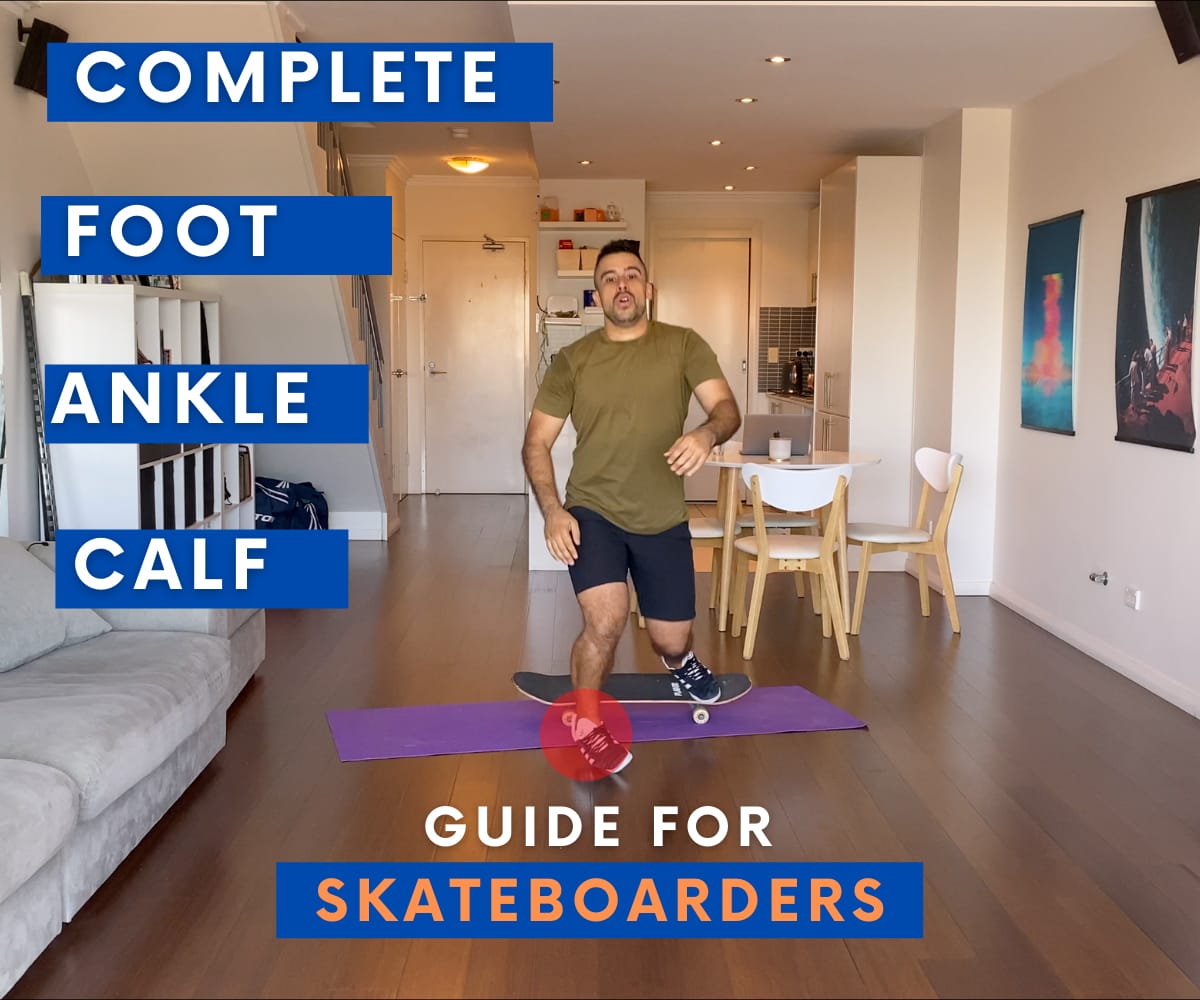
To see this article and exercises broken down in video format check out the series on the Skateboard Strength youtube channel here:
To get the full PDF program with program template of each individual stage, full video break down of each individual exercise and video break down of how to effectively move through the program be sure to download the Ultimate Foot, Calf & Ankle Guide for Skaters here.